


Predator Magner Tutorial
by The Great Beaver
-The goals of this vehicle are more than just magnetic modularity. THe goals of this project include making a beefier tank, that makes full use of its different chassis variations ( I wonder if all this yammering is necessary).
-The different things being explained will be:using magnets to create modular weapons mounts for the predator annihilator/destructor model including sponson mounts; using magnets to allow for the vehicle to be able be feilded as any of its chassis variations; how to use plasticard to create a beefier tank that looks cool and looks well 'ard.
-The company I buy plasticard from has a huge range: http://www.evergreenscalemodels.com/Book.htm
you can order any size and any shape....
I really want to start doing this instead of constantly having to cut out my own shapes, which is very difficult.
-The magnets used are from:
http://kjmagnetics.com/products.asp?cat=10
The primary magnet used is the "D2Y1" model magnets from
1/8" x 1/32"
Grade N45 - Nickel Plated
Although variations on design use the "D1Y1" for smaller places.
Their size is perfect as alot of the holes on the predator tank come in 1/8 sizes or close to it. In some places, depending on which technique you use, you will find that you may need to enlarge holes somewhat. for this I use a 1/8 inch thick drill bit to make hole the right size.
-Speaking of which, this is what you will need.
pin vice
1/8 inch drill bit
exacto blade
Green Stuff
super glue
plastic cement(plastic glue)
files
Now that we have our supplies. let us start, as they say, from the top:
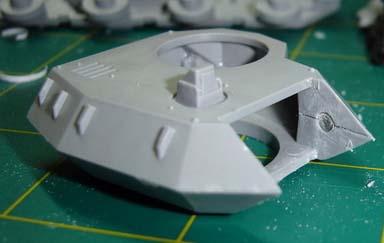
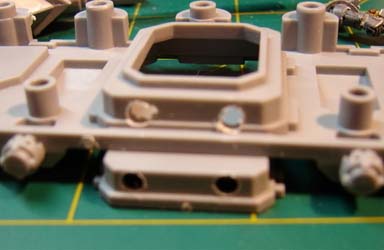
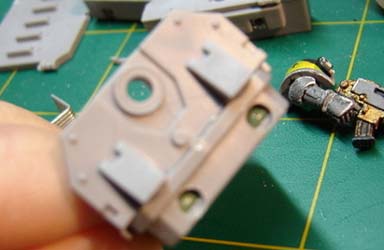
Top turret
The top turret is probably the easiest ones as the model already has holes in the right places.
The first thing Im going to do is glue the top and bottom turret in place with some GS in the holes where the turret-gun normally hinges. Then I simply pushed the magnets into the GS to make a perfect fitting groove for them. Left the GS to dry and then glued the magnets into the groove.
Like this:
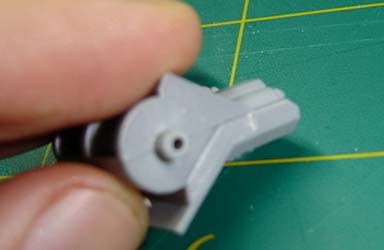
For the gun, it became a little more difficult, as there is drilling cutting GSing and a steady hand involved.
First thing I did was drill holes into the pivot stubs of the gun, just like drilling a gun barrel. but this is more important because this hole is your guide hole. Get it wrong and your magnets wont line up.
Then, I cut the stub off
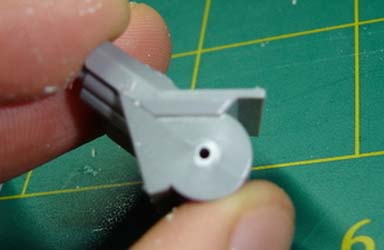
And then used my 1/8 inch drill bit to make perfect magnet sized holes.
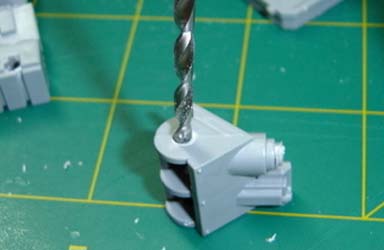
Then I put some GS behind the holes, pushed a magnet in to make a groove, let the GS dry and then glued the magnets in.
I did this to each gun mount I wanted and even an old broken one
Ammo feed
For the ammo feed, it was a little tricky, as I couldnt do the drilling before I glued the turret together.
So, I simply drilled into the back of the turret like so:
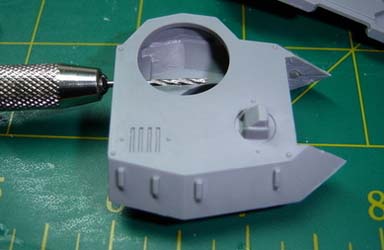
Then stuck the pin vice through the turret the other way like so.
And then, through that drilled the holes in the appropriate lined up places in the ammo feeds.
Then, it was a simple matter of using the 1/8 inch bit to make the magnet sized holes and putting them in.
(OOC: on a side note. the ammo feeds are so light waight, that im sure you could use smaller magnets, that are easier to work with.)
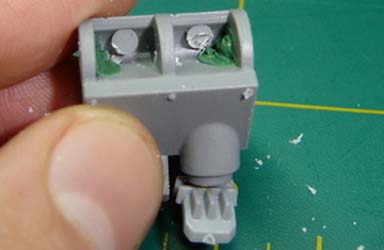
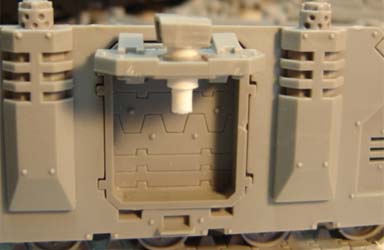
Side sponsons
Door wells
I wanted to embed the magnets in the door well so that they wouldnt be seen when no door was inside.
I drilled two holes from the inside of the door frame where the magnets would go. with these holes, I then held the sponson door onto the rino and drilled into them to alligne them.
I then took an exacto blade and slowly cut out the proper sized hole in order to fit the magnets (using the 1/8 inch bit would have mangled the thin plastic in this area)
When the holes were complete, I put the magnets in facing down, and secured them with my GS groove technique.
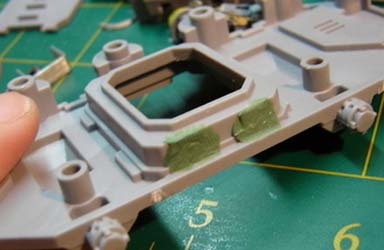
For the sponson door, I used the GS to hold the magnets in, and to hold the sponson holder in place.
I then put the magnets in and that was it for the door wells
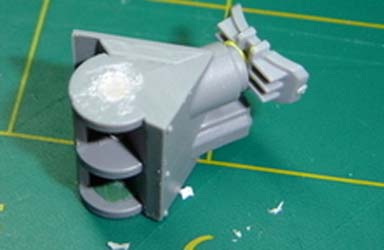
The sponson
Okay, my version of the side sponson gun carrier.
The first thing I do is make sure the hole on the mount is big enough for my 1/8inch plastic rod.
errr...
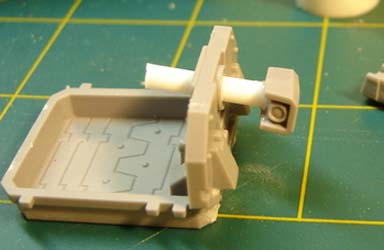
Okay, in the package I bought of plastic rod
There is the 1/8 inch that I use for everyting, and then there is one size that the 1/8 inch fits into and one that fits inside of it.
The one that fits inside of it I use to glue the rod to the little scanner on top like so
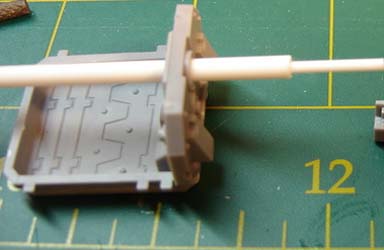
The one that fits on the outside, I cut to make spacers that hold the tube onto the main frame without it wiggling or moving up and down
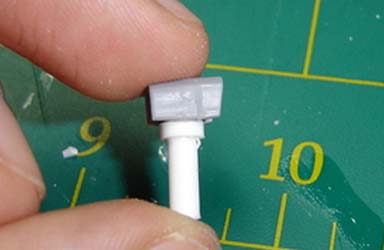
The only thing to be careful about is that you dont accidentally glue the tube onto the frame when you glue the spacers on.
And make sure you make the tube long enough to fit the turret holder when its ready...I make mine very long so I can cut it later.